
Apple season if finally here. Summer is winding down, and fall is nearly at our doorstep. For the summer lovers, it is a bittersweet time, as they have to say goodbye to those summer activities filling their long sun-filled days. But for others, those who come to life in the fall/winter, it’s time to take advantage of all the wonderful things that fall brings – like football, the holidays, and of course, apple season.
What are Galettes?
If you are a fan of desserts like apple pies, tarts, or pastries, then I feel like you will naturally gravitate towards the galette. A close cousin of the apple pie, galette’s are free form flour/ butter based crusts that are rolled out, chilled, then partially folded around a prepared fruit or savory topping. For those of you who find making pie or tart crusts a bit intimidating, galettes are much more forgiving and practically require no special equipment – besides a rolling pin, which can even be substituted with a wine bottle.
The beautiful thing about Galettes is, they don’t take much time to put together. You can probably make a galette in the same amount of time you can make chocolate chip cookies, which I also included a link for. They can be made beforehand and frozen for up to a couple months. Whenever you are in the mood, or the opportunity to impress some friends or family members that happen to be staying over for the weekend, arises. Pull one or two out of the freezer, let it thaw for a couple hours, prepare a topping, bake, and that’s it. Professional bakery level treats right at your fingertips whenever you want.
Ingredients
Here is a quick list of the ingredients that you will need:
- flour
- sugar
- salt
- butter
- ice water
- apples
- lemon
- vanilla paste
- cinnamon
- egg or heavy cream
- turbinado sugar
How to Make an Apple Galette
I mentioned previously that you do not need any special equipment – that’s still true. But I do find that using a food processor to mix the butter with the flour, sugar, and salt, will result in a more uniform crust. However, just to show that it can be done, and done well, the photos of the apple galette featured in this article were made just using a rolling pin.
You’ll want to combine 1 1/3 cups of all purpose flour, 1 tbsp of sugar, and a 1/2 tsp of salt in a large bowl. Make sure to use a whisk or fork to evenly mix the dry ingredients. If you are doing this by hand, then you can proceed with the next step in a couple different ways. Pull a half cup of butter out of the fridge, along with 6-8 tbsp of very cold water. Using a cheese grater, begin to grate the butter into the bowl being careful not to include some finger skin along with it (I have done this, it’s not fun lol). It will look something like this:

Next, you will need to add 6-8 tbsp of cold water (I like to use ice water). I recommend starting with 6 tbsp and see how the dough comes together. If you find it to be too dry, add a little more, but you really shouldn’t need any more than 8 tbsp total.
Food processor – instead of grating the butter, simply add all of your dry ingredients to the bowl, cut the half cup of butter into 1 inch cubes, and begin to pulse, adding a little water between each pulse, until you have small, pea size balls of butter mixed in with the dough.
Hands – go ahead and dive right in. I like to use both hands to start mixing, coating all the butter with the flour, sugar, and salt mixture. Roll the butter pieces between your fingers, making them as small as possible. After a minute or two, you will be left with a shaggy looking dough, which is exactly what we want.

Dump this shaggy mess out onto your counter and begin forming it into a disc. It might require some light pressing, just to get it to adhere to itself, but it should come together. I will also note that you will need to work somewhat quickly as we are working with cold butter which is going to become less and less cold by the minute. If the dough is having a hard time coming together, feel free to add a little more water, but be careful not to oversaturate it. After a few moments you should be left with a small disc of dough that is ready to be wrapped in plastic and stored in the refrigerator for at least one hour.


At this point, you can let the dough chill for at least one hour, or leave it in the fridge for up to 2 days, or throw them in the freezer which should store safely for up to 2 months. I have pulled mine out after a couple months, thawed them on the counter for an hour, then proceeded to bake – they turned out great.
After about an hour, the disc of dough should have firmed up quite a bit. It should be firm but still somewhat malleable, meaning you should be able to easily roll it out with little force. Unwrap the disc, place a piece of parchment paper on the counter, and set the dough in the center. Begin to roll using a rolling pin, or even a wine bottle will work (I’ve done it). If the butter starts melting and sticking to your rolling pin, place the dough back in the fridge or you can even stick it in the freezer for a few minutes if you are inpatient like me. Our goal here is to roll it out to about 10 inches in diameter.

Since the dough is probably coming closer to room temperature by this point, go ahead and throw this back in the refrigerator while we prepare the filling.

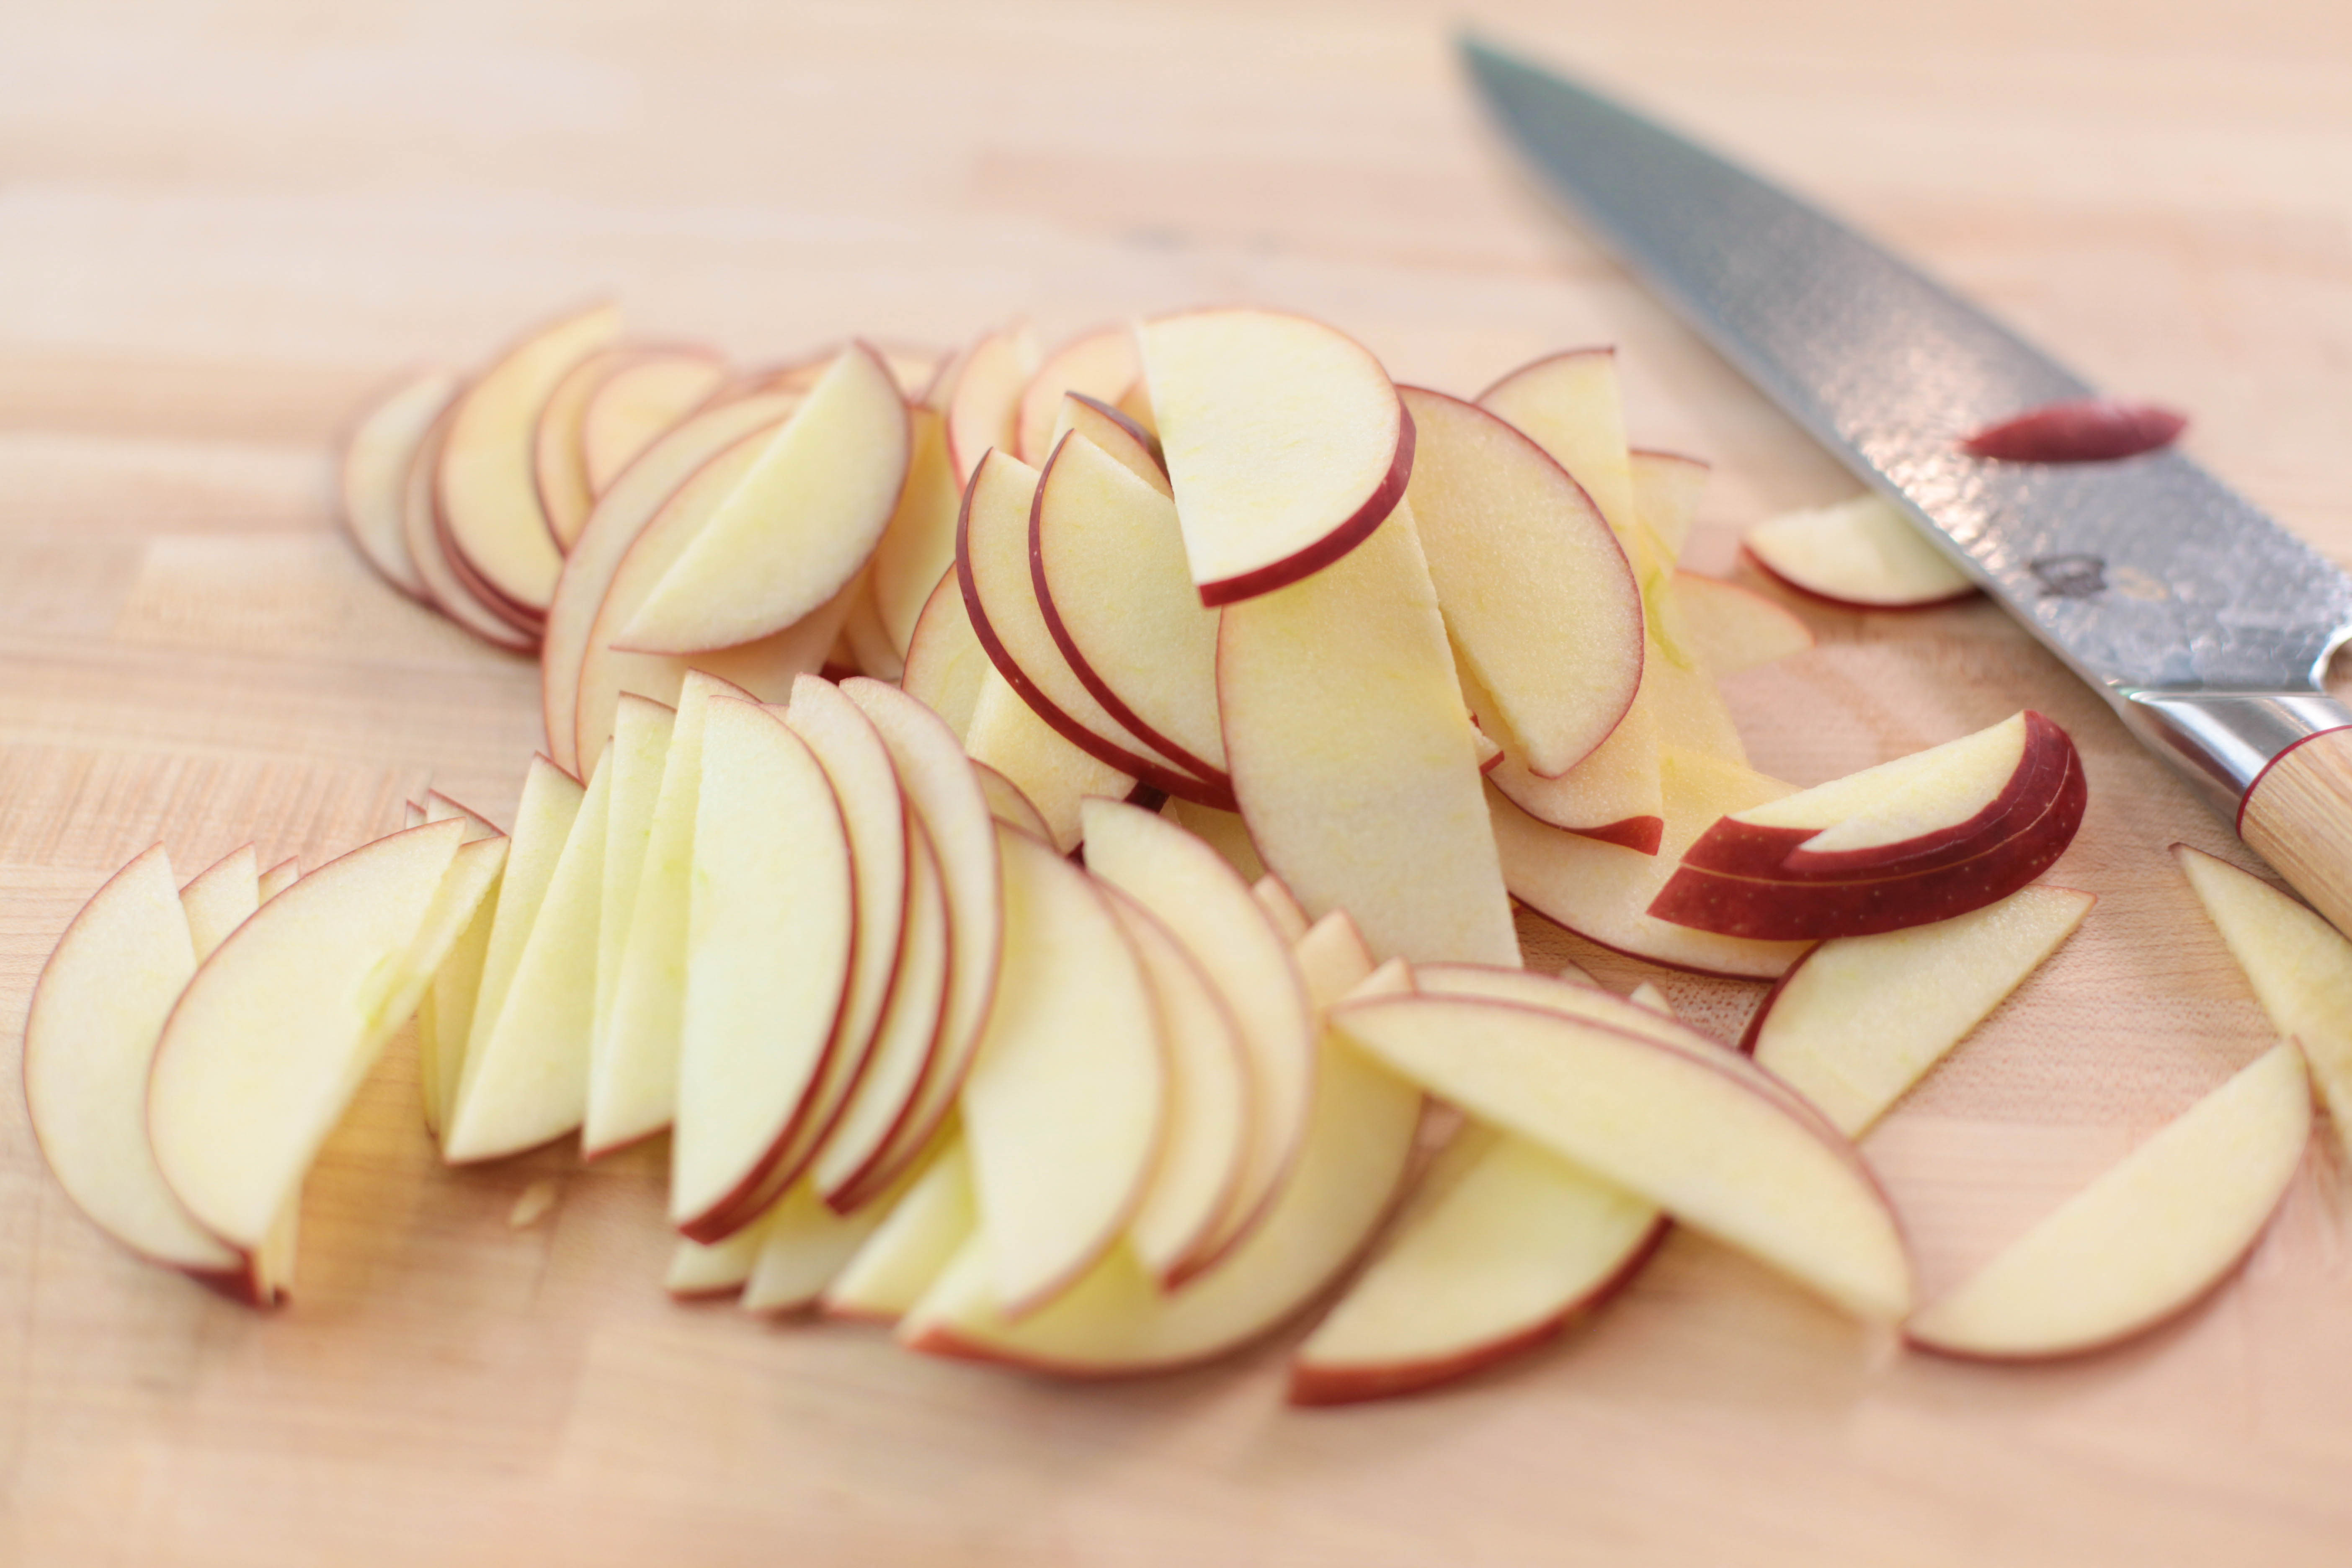
The cool thing about galettes is how versatile they are. You can literally put just about anything in the middle, bake it, and it will turn out great. I have used strawberries, peaches, blueberries, a combination of two or more. I have even made a shepherd’s pie filling and made a savory version, which turned out amazing, by the way. But since this post is about apples, we will stick to that for now. Go ahead and slice the apples from top down, leaving the skin on. You should be left with four apple faces that we will then thinly slice.
A quick note – I have had a few people ask me in my YouTube videos about what type of knife I use. So I thought I would also include that here, because a good, sharp knife, is a safe knife, and to create these perfect apple slices that you see below, a good knife is a must. I actually use a Shun Hikaru 8″ Chef’s Knife which I purchased from William’s Sonoma. It’s a little on the pricier end, but a good knife is invaluable in the kitchen. Not to mention, if you take care of this knife, it should last you a lifetime.
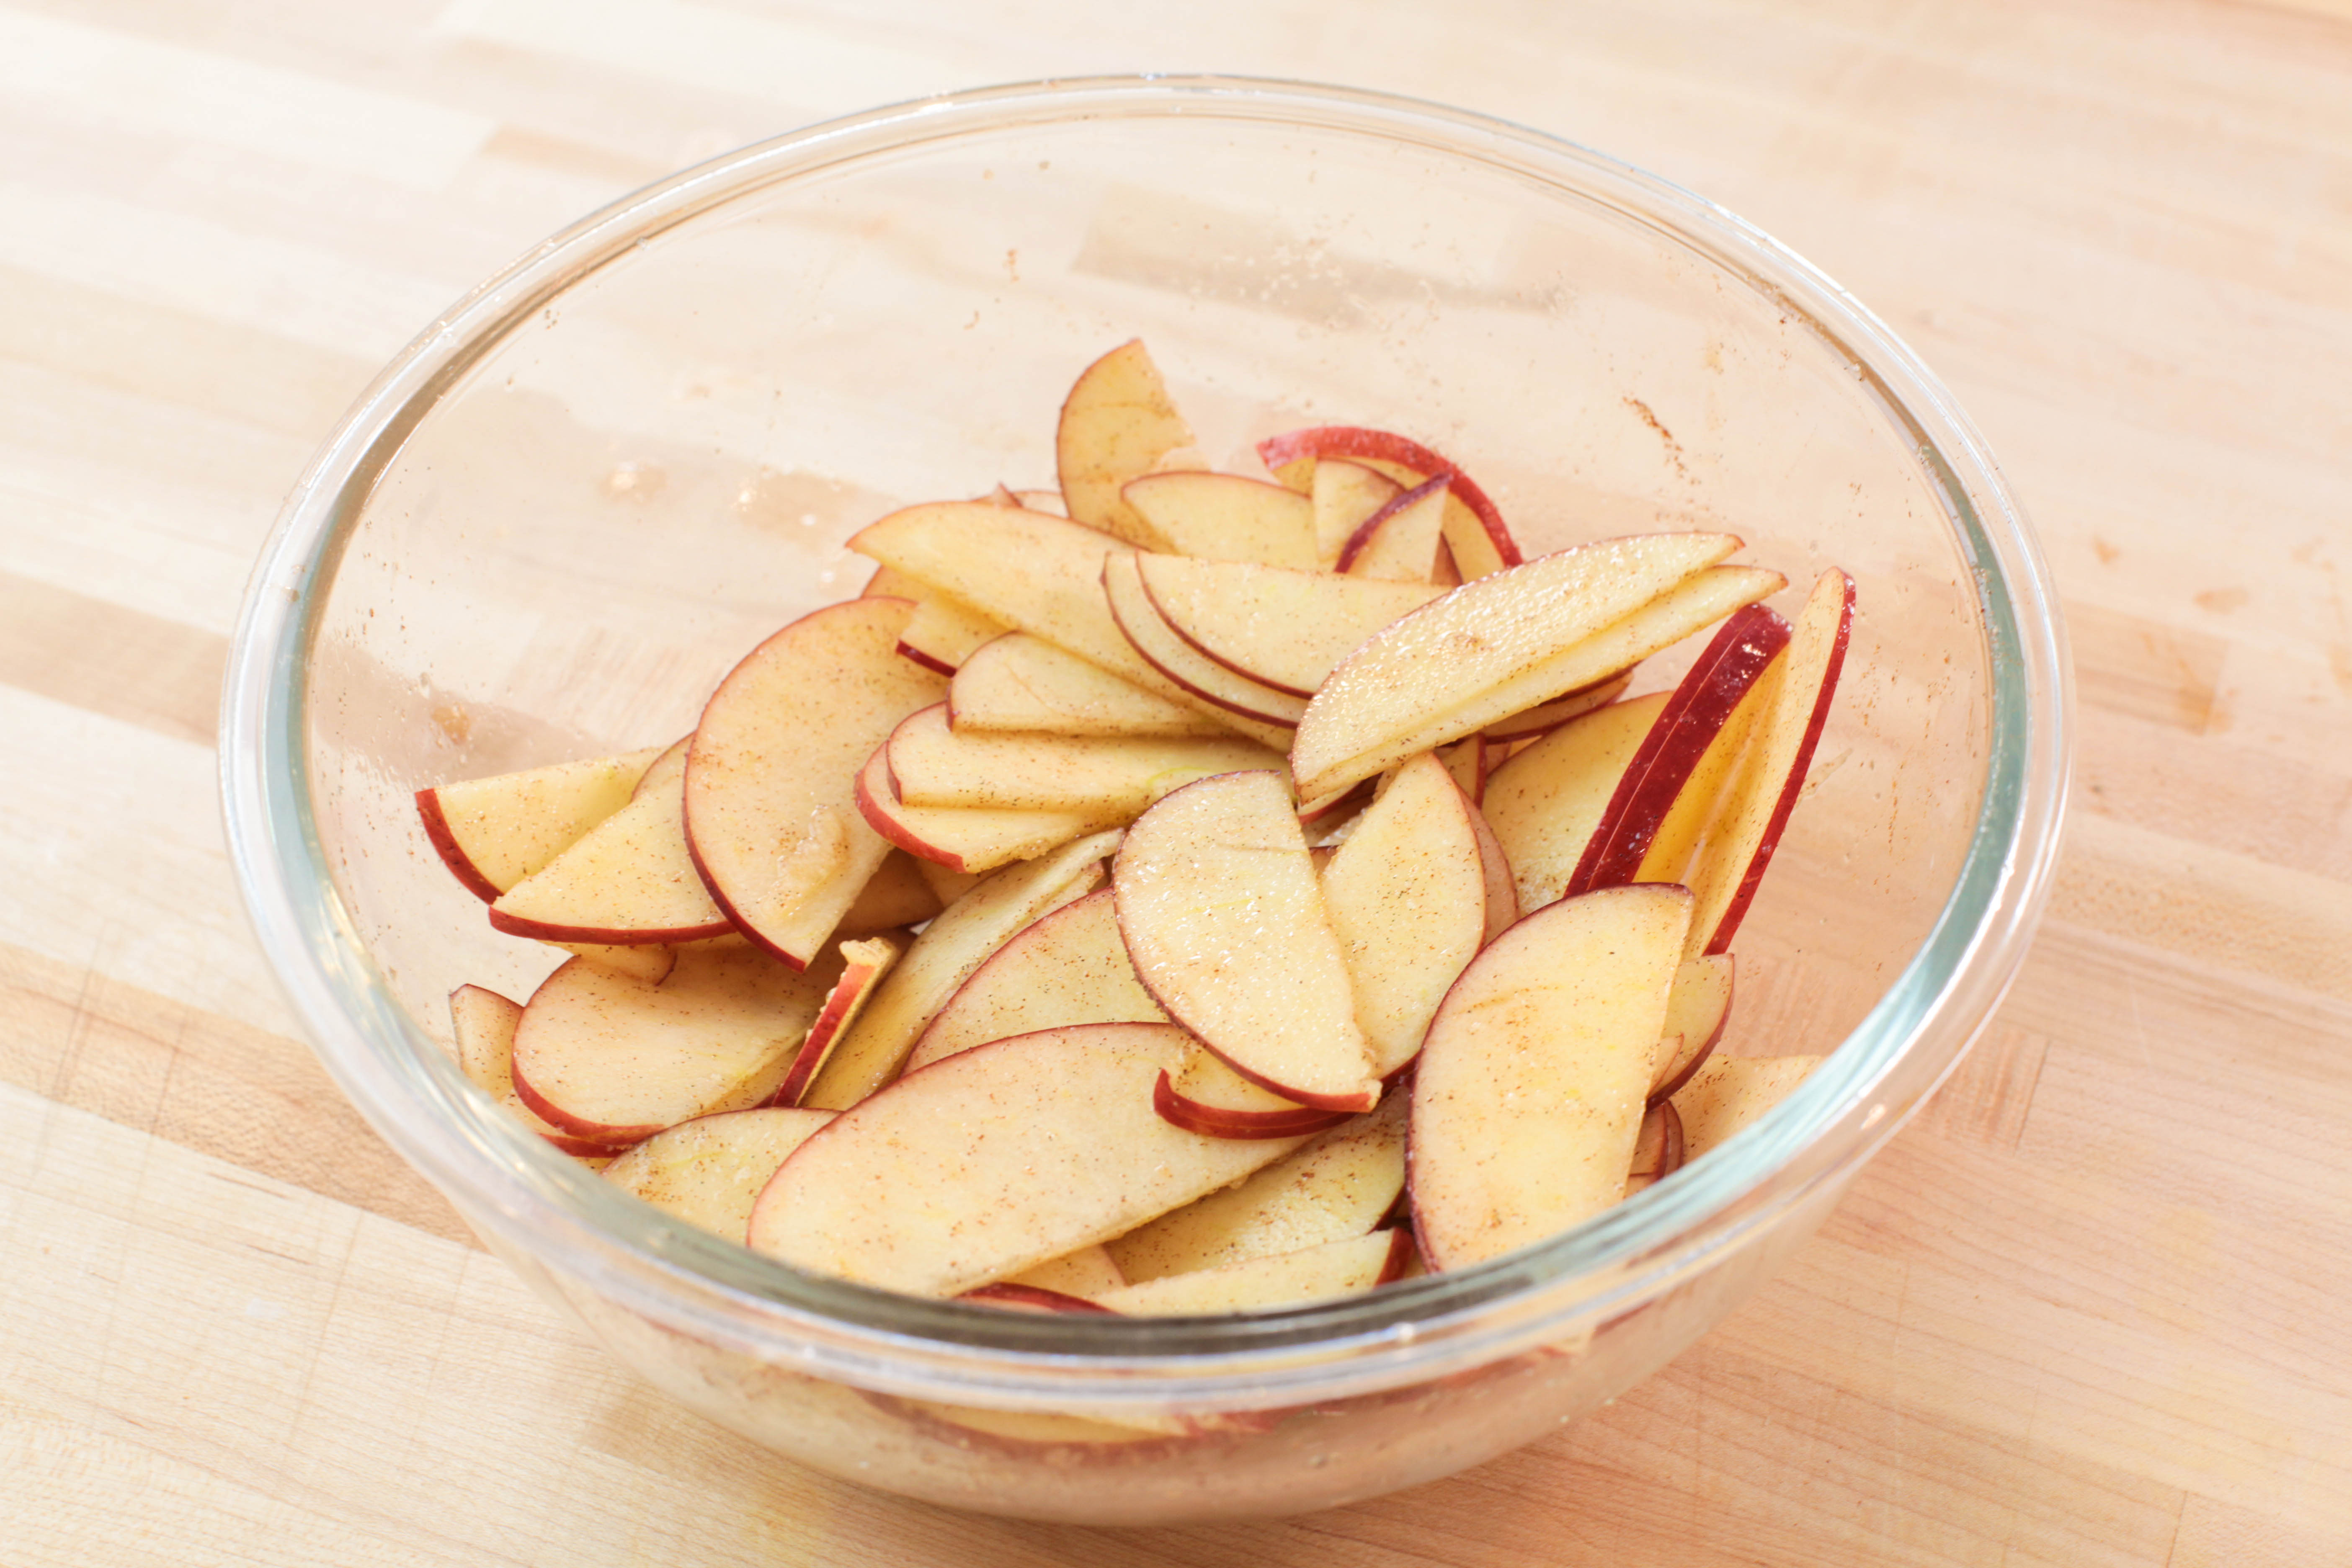
Add the apple slices to a medium sized bowl and squeeze in the juice of one lemon, 1/2 tsp of cinnamon, 1 tbsp of granulated sugar, and 1/2 tsp of vanilla paste. Toss to evenly coat.
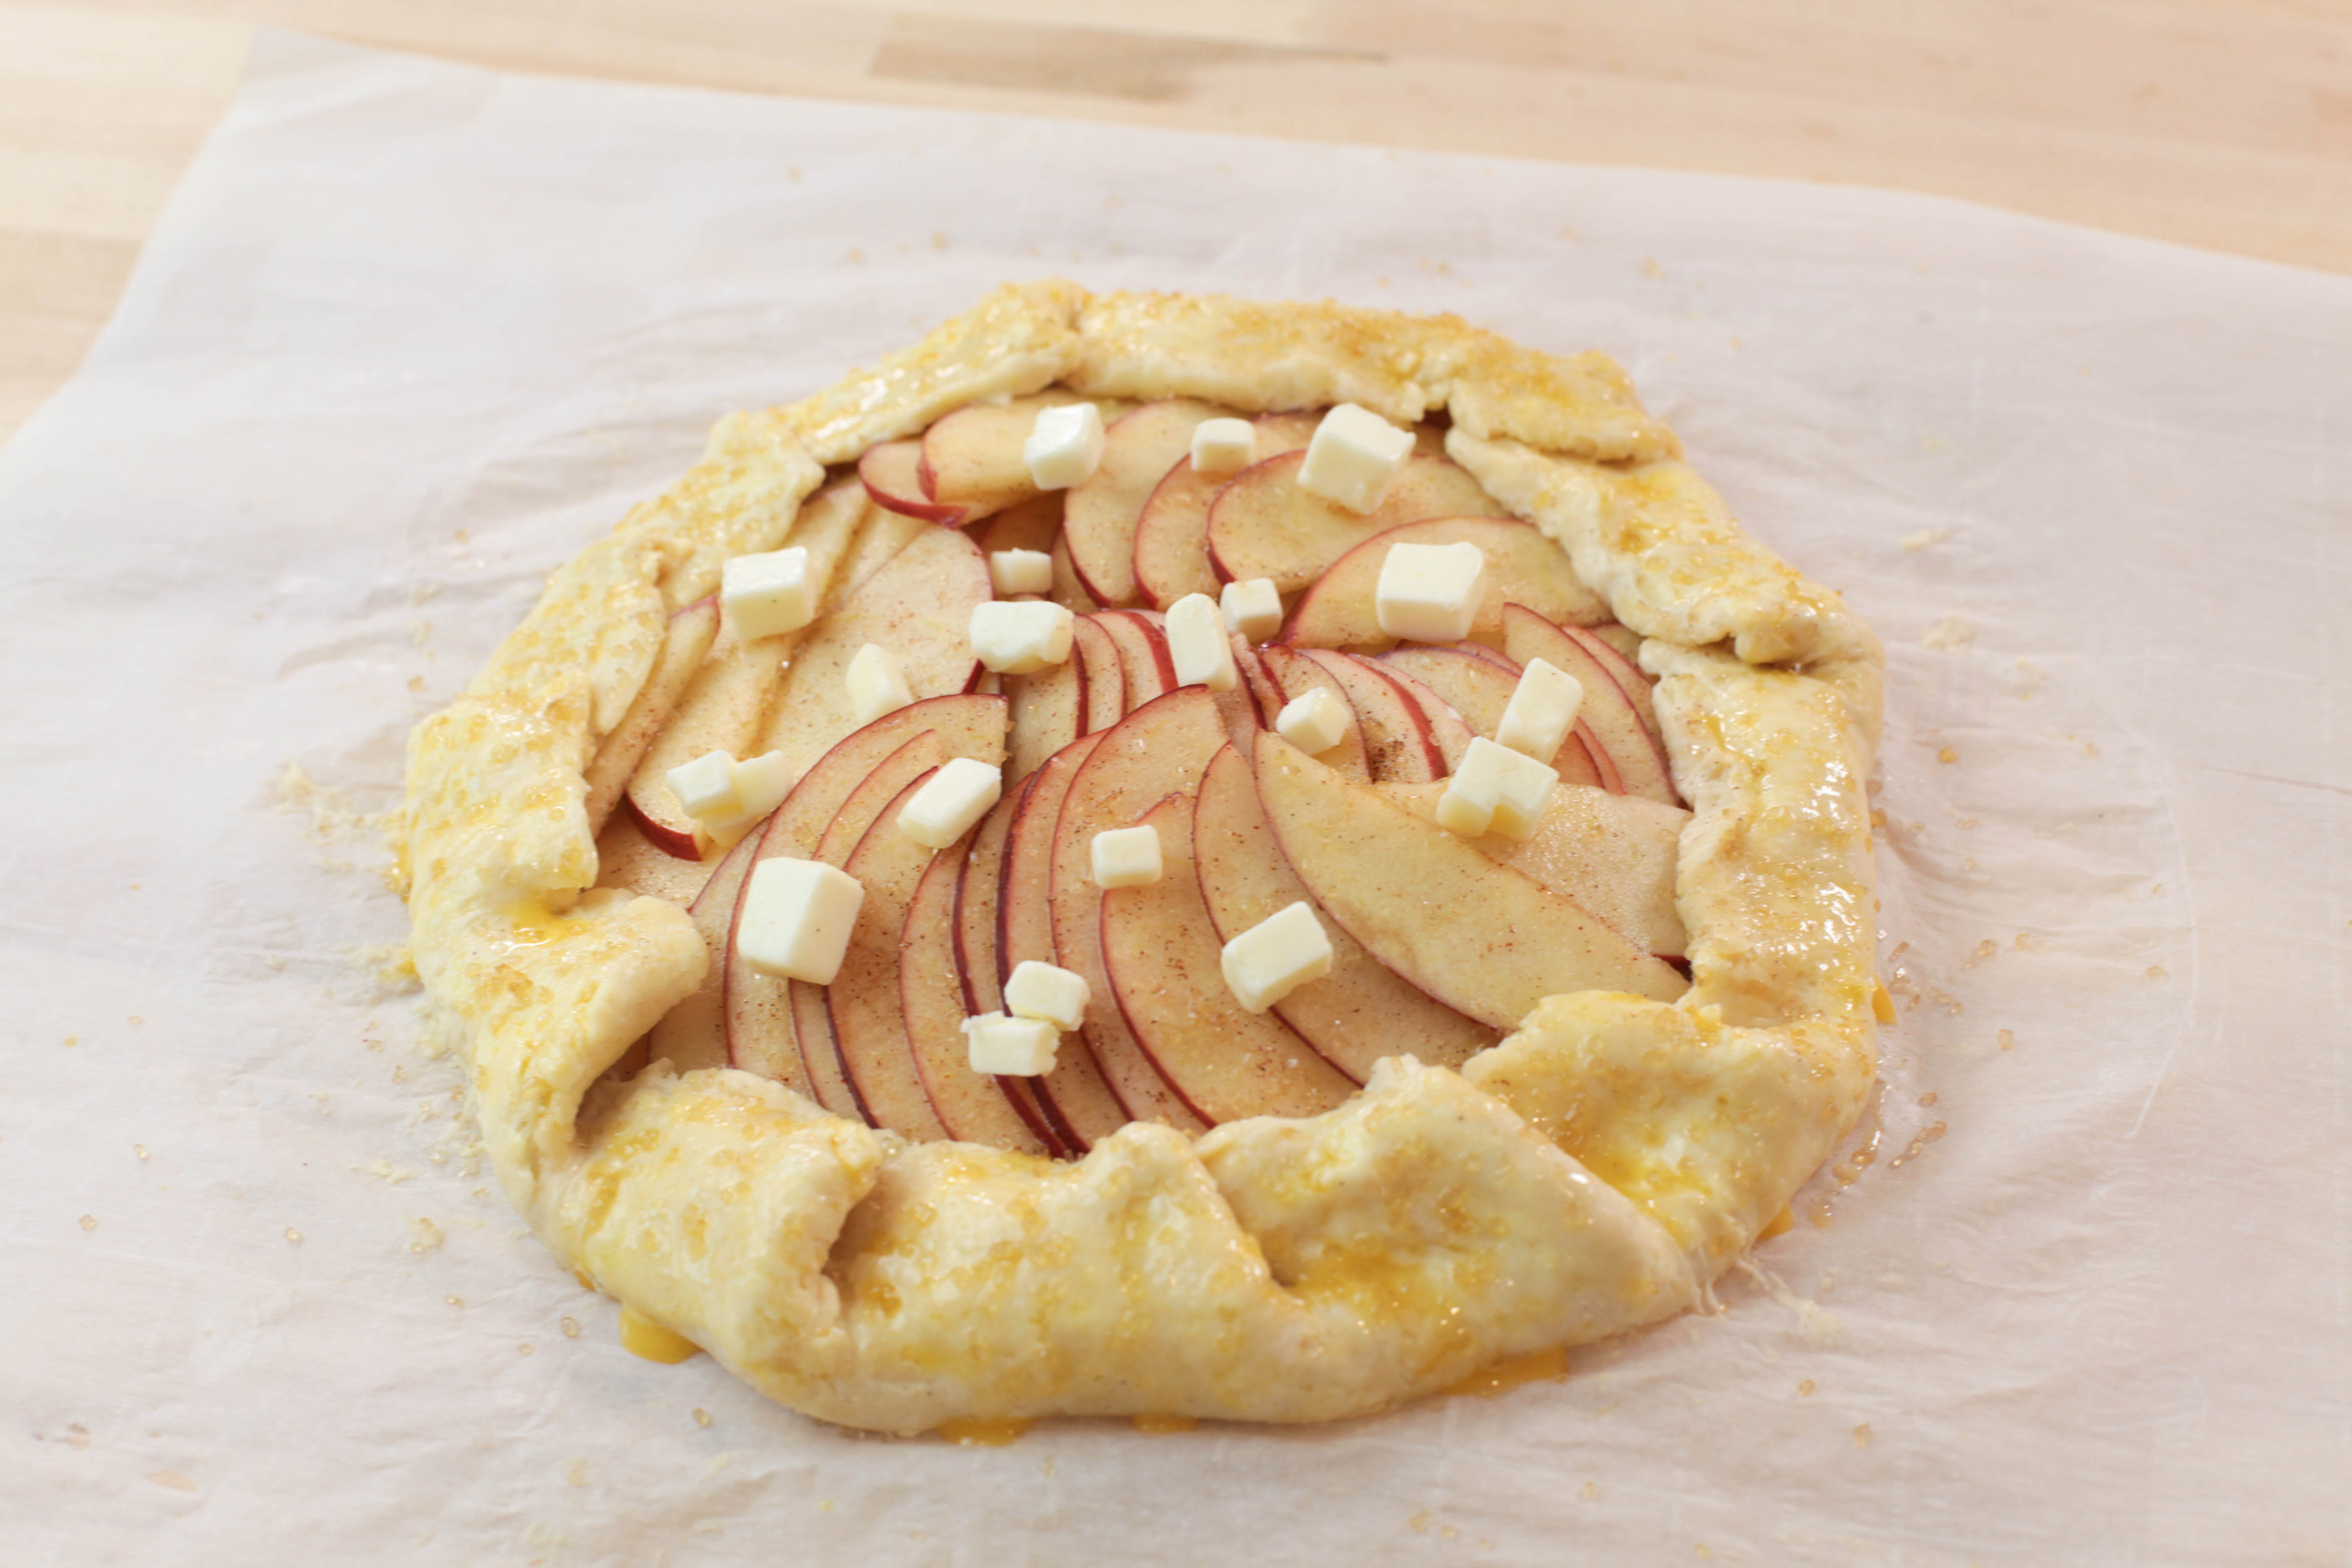
Pull the dough back out of the refrigerator and arrange the apple slices in the center of the dough, leaving a couple inches around the edge in order to fold in the sides. This part can be a little tricky but as long as the dough is still chilled and firm, it should be pretty manageable. I like to fold the sides using the parchment, then once the dough is in place, carefully peel back the parchment. Fold over all sides, essentially creating an octagon. Depending on how long this takes you, you may want to place the galette back in the refrigerator to firm up again. When baking things like butter layered dough, it’s best to bake them while still cold, otherwise the butter tends to melt and run out into the pan.
Whisk one egg into a small bowl, and using a brush or even use your finger, coat the sides and top of the dough with a light layer of egg wash. This is going to help make the sides brown and crispy. Coat the egg wash and top of the galette with turbinado sugar (you can also use regular sugar, or even omit this step completely). Lastly, I like to cut up small pieces of butter to place throughout the top of the apple filling.
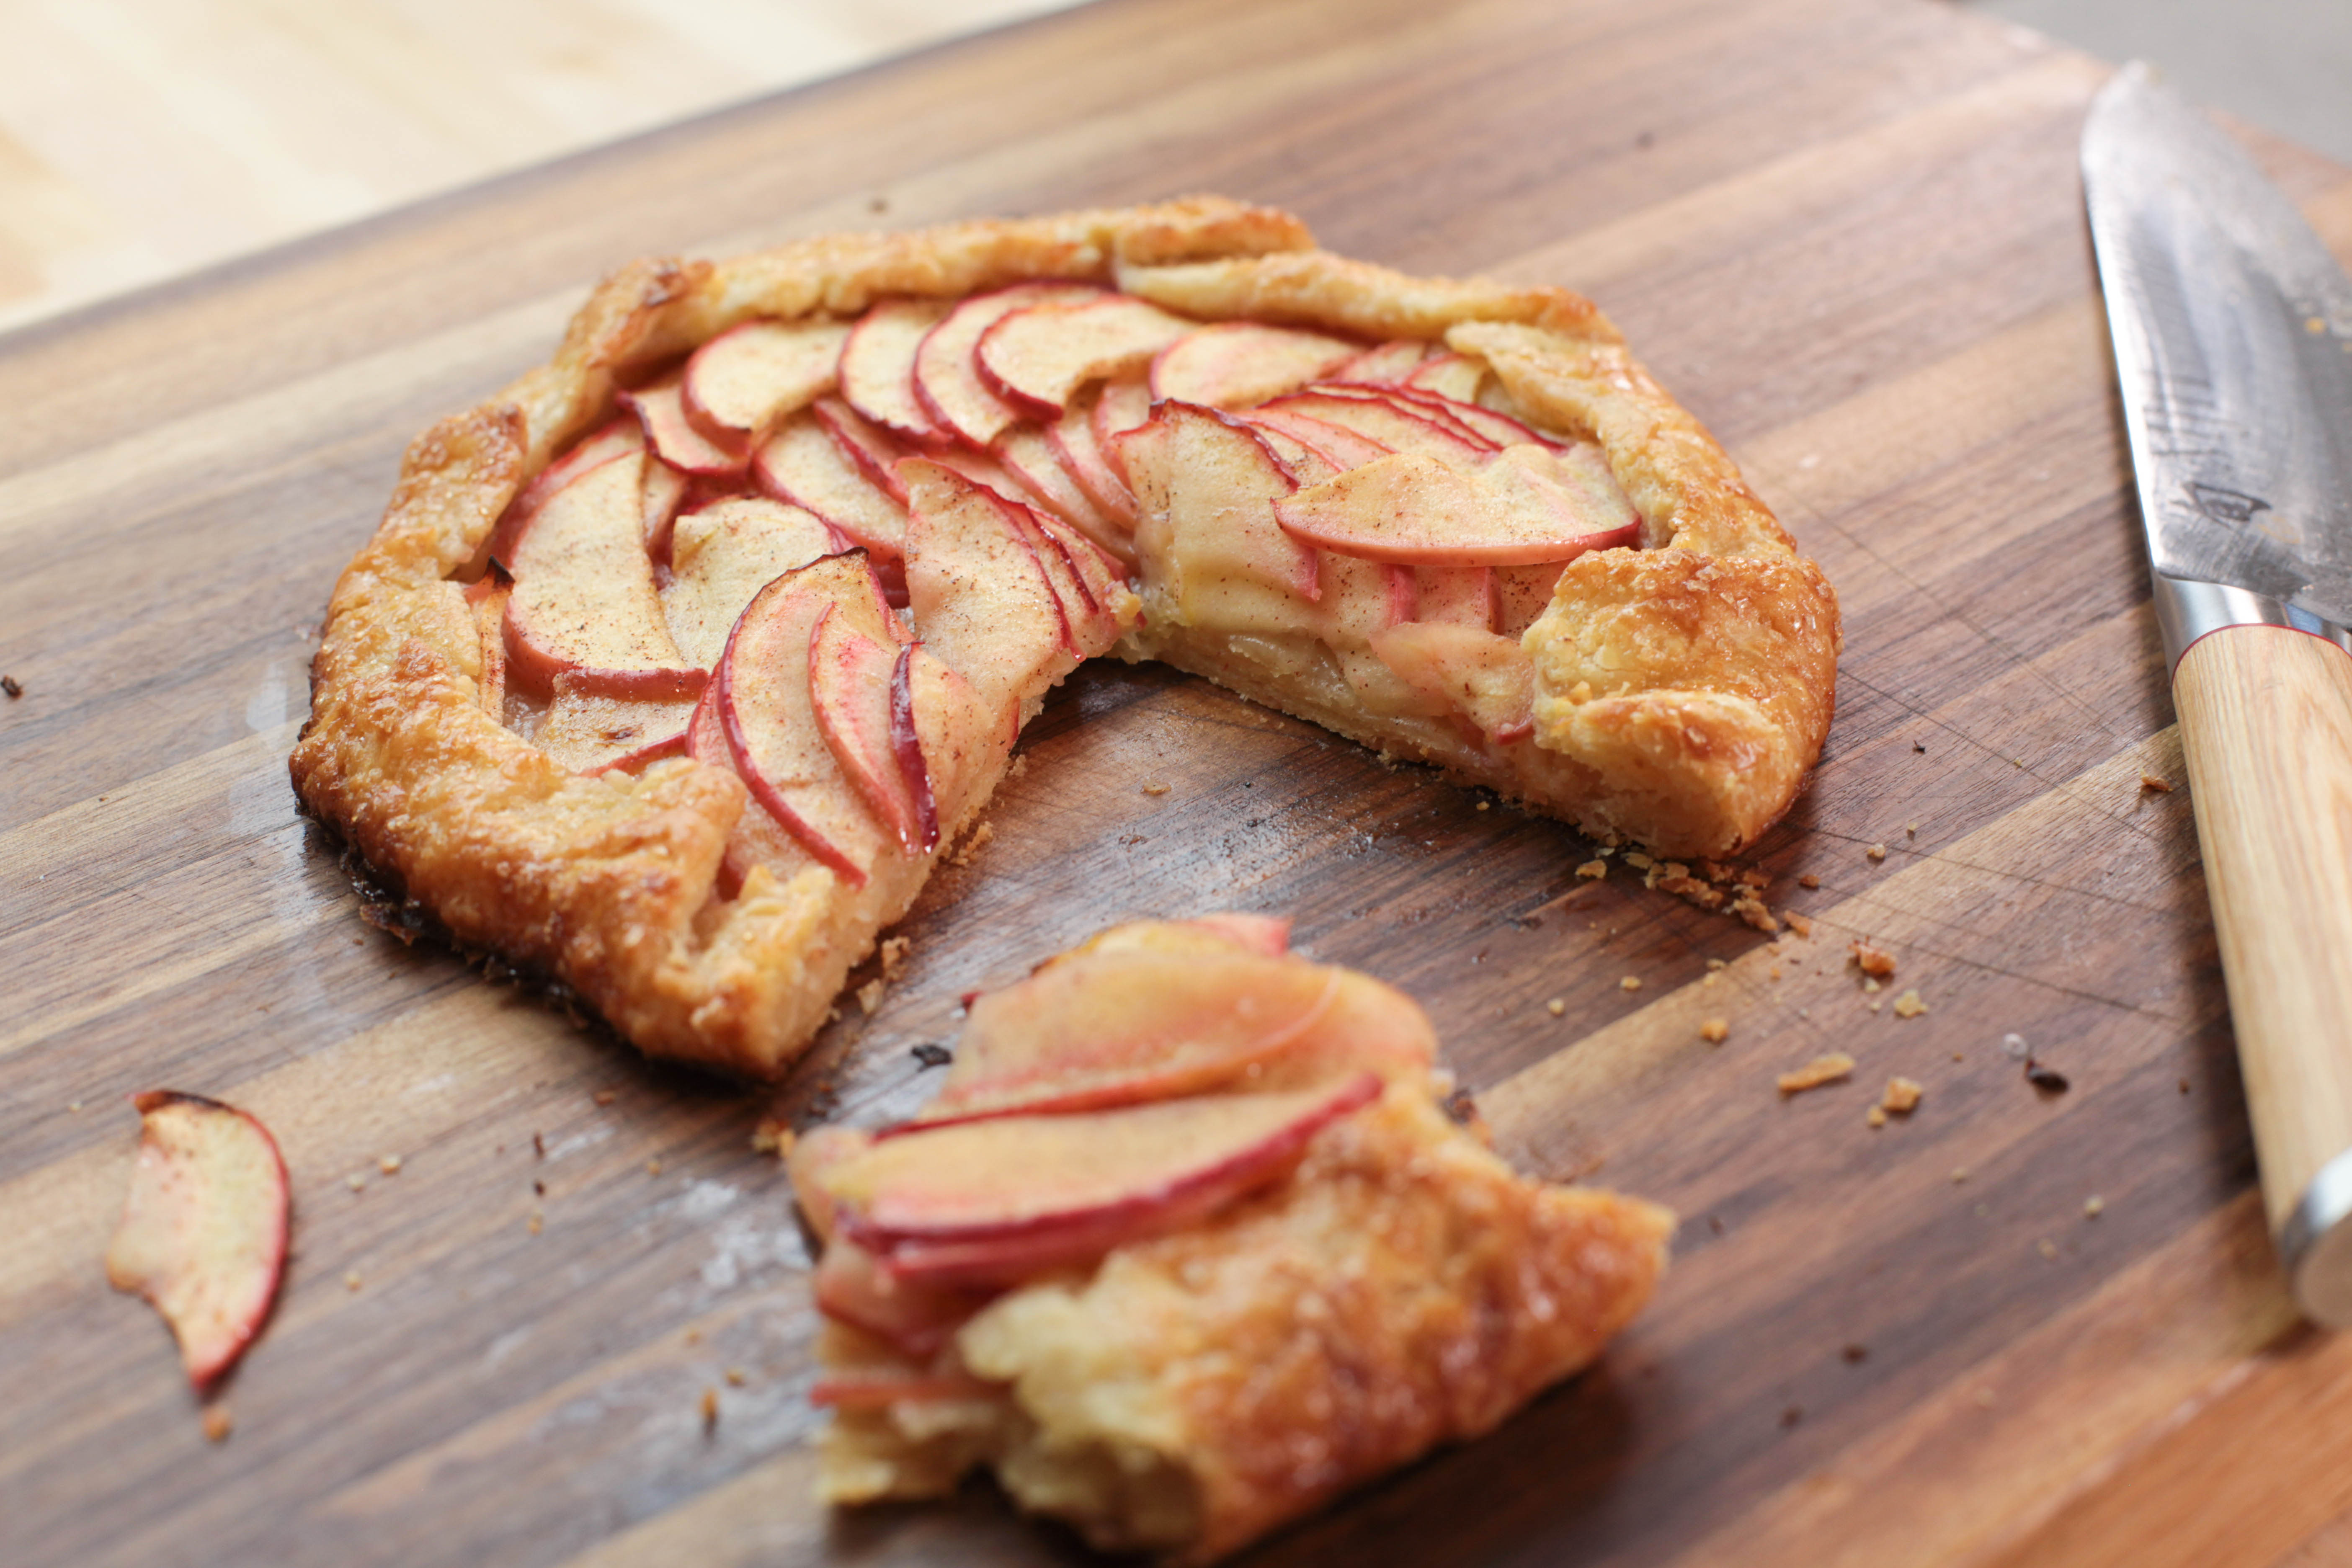
Preheat your oven to 425° F and bake for 25-3o minutes or until the top is golden brown. Transfer to a wire rack to cool. And that’s all there is to it. Slice and top with powdered sugar, ice cream, whipped cream, or just eat it as is – like I normally do.
Apple Galette

One of my all time favorite desserts – the apple Gillette. It's incredible easy and really fun to make. It really doesn't take much time to throw together this delicious pie like crust with endless options for the filling!
- 1⅓ cups all purpose flour
- 2 tbsp sugar (divided between dough and filling)
- ½ tsp salt
- ½ cup plus 1 tbsp cup butter (cold; 1 tbsp for topping)
- 6-8 tbsp water (cold)
- 2-3 apples
- ½ tsp cinnamon
- 1 tbsp lemon juice
- ½ tsp vanilla paste
- 1 large egg (whisked)
- 1 tbsp turbinado sugar
Combine flour, sugar, and salt in a large bowl. Whisk to evenly distribute.
Grate in cold butter, followed by cold water.
Mix together using hands. Dump out dough onto counter and press into a disc.
Wrap dough in plastic and chill in fridge for at least 1 hour.
Cut apples into thin slices. Add to a medium sized bowl along with cinnamon, sugar, and vanilla paste. Toss to coat.
Roll out dough to a diameter of 10 inches. Arrange apples slices in the center of dough. Fold over the edges.
Whisk an egg. Using a brush, apply the egg wash to the rim and sides of the dough. Top with turbinado sugar and small pieces of butter.
Bake at 425°F for 25-30 minutes. Let cool before slicing. Enjoy 🙂
Leave a Reply